How To Use IDA As Network Investigation Tool
This tutorial will cover IDA as a disassembler, the history behind the instrument, how to use IDA, and what uses it has; it will also cover the installation process and OS it can be installed on. But before moving to it we will download REMnux first.
REMnux Download Page and Configuration:
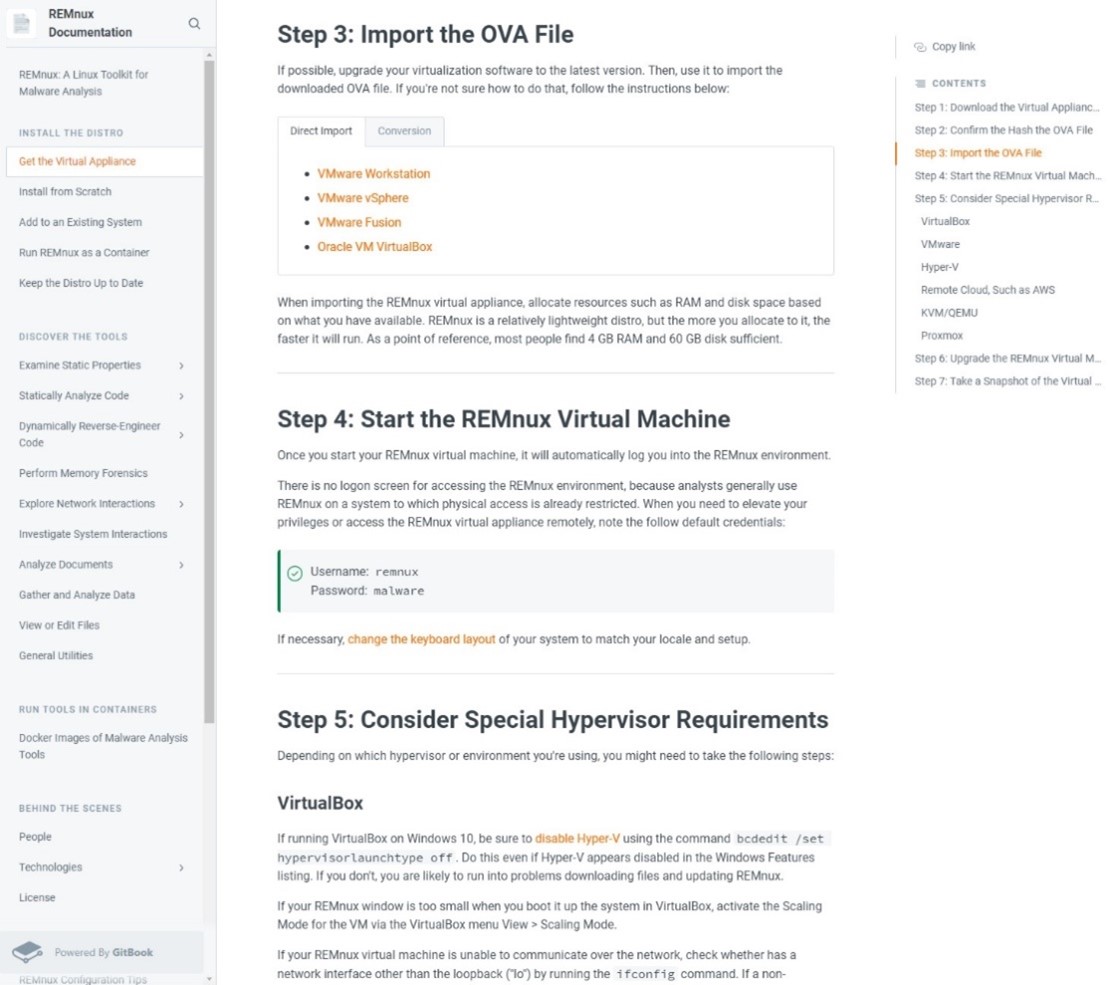
The above figure shows the REMnux download page and configuration. This is a virtual environment based on Ubuntu. When investigating malware, one should do it in a virtual environment that is protected and not in the same network as the primary OS. The reason is to prevent other systems from being infected and to be able to test the malware in a safe environment and see how it works. The VM also allows one to take screenshots, meaning saving sessions. If anything goes wrong, a simple reset is done to the screenshot, and the system is back to normal. Nothing of value can be lost, and the malware can be tested safely.
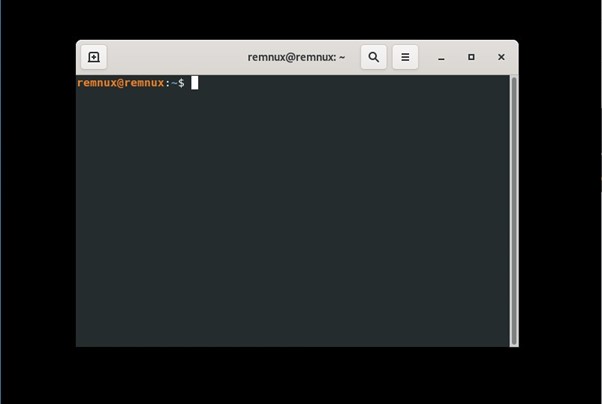
Now the REMnux is installed successfully, and the terminal is on. After installation is completed, one should update and upgrade the system using the command sudo apt update and sudo apt upgrade and perform a reboot. For this system, the climb was already done, and a reboot was done.
IDA Download Page:
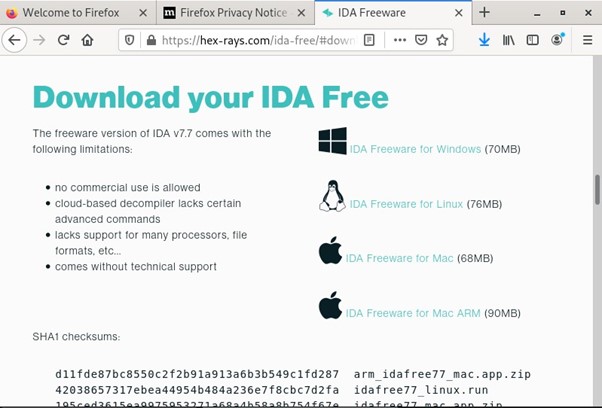
The above figure shows the IDA download page. IDA or Interactive Disassembler is a disassembler that generates assembly language from executable code. IDA performs automatic code analysis, using cross-references between code sections’ knowledge of parameters and other information. IDA can even be used as a debugger for software on any OS. As seen in the figure, IDA can be installed on any OS, even Windows and Macs. The person installing it should still use a VM to protect the central system from malware compromise.
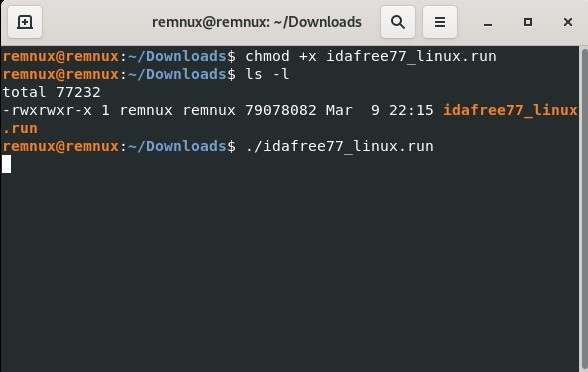
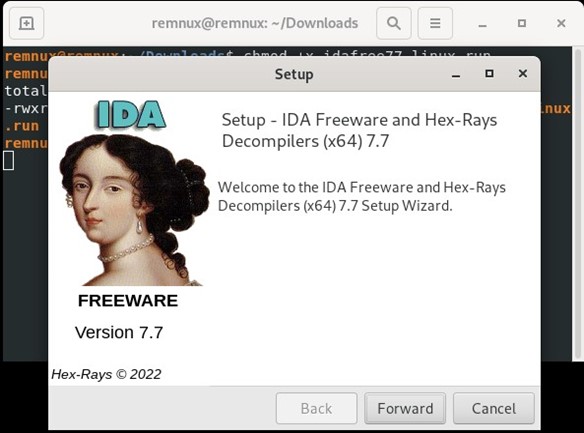
After downloading it from the download page you need to install IDA first as shown above. The command needed is chmod +x name of the file. Run to make it executable and finally click ./nameoffile.run to run it.
Once IDA is downloaded, all the user has to do is click forward, agree to the terms, and finally install. This is a simple installation that does not need explaining. Once the user reaches this step, it will install quickly.
Starting IDA:
11) After starting IDA, the user chooses a file that will be disassembled.
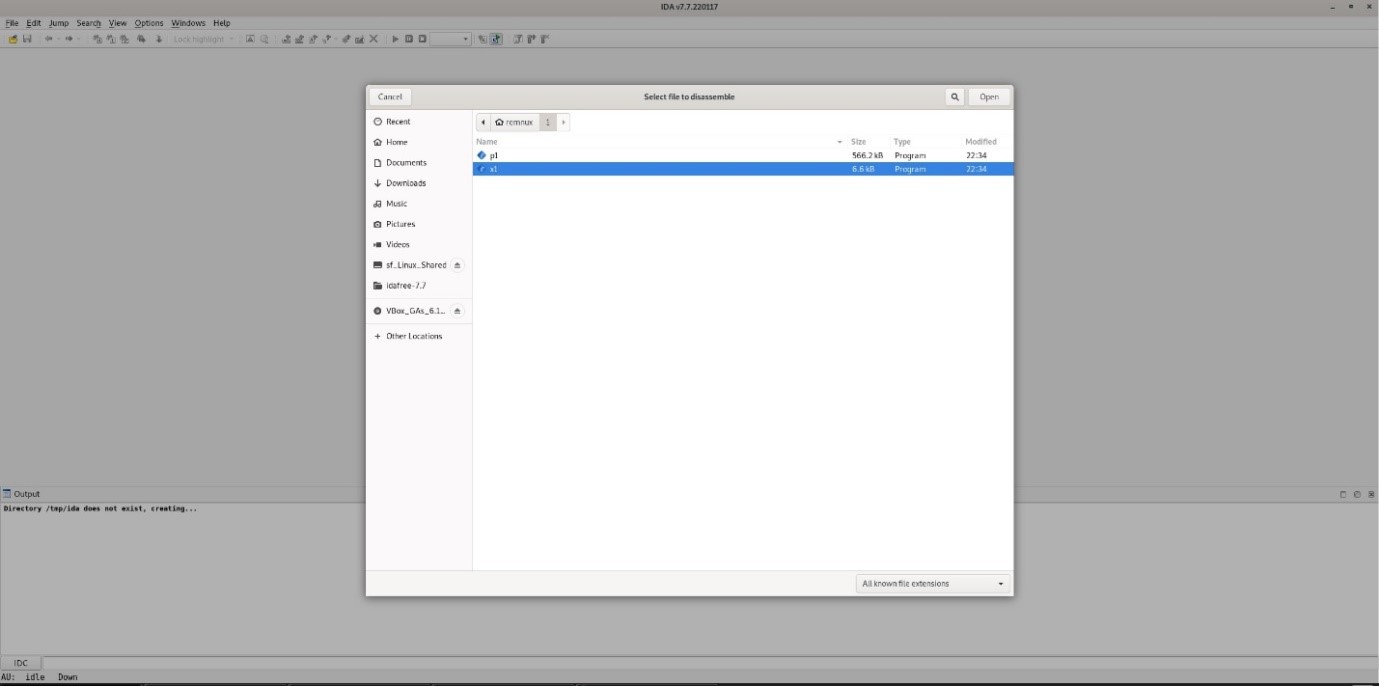
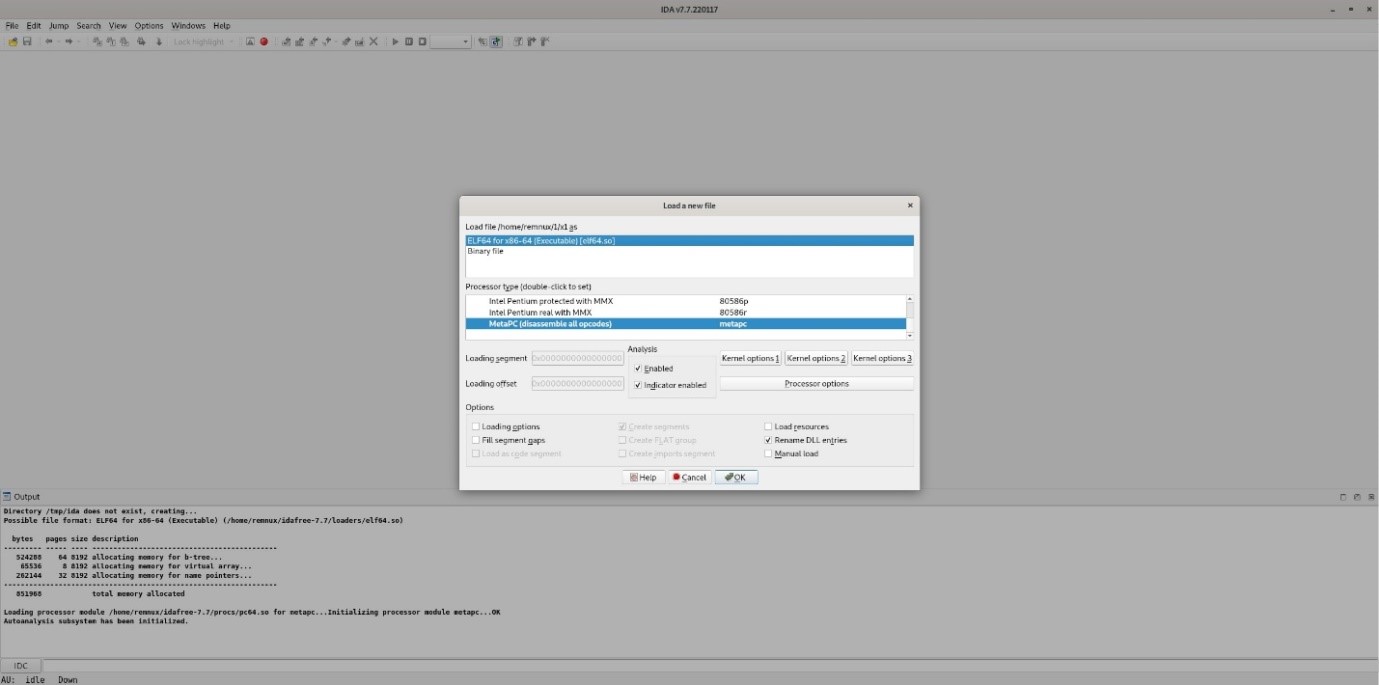
2) When the user chooses a file then IDA asks the user to change anything that may be needed, such as the processer. Default by IDA selects everything, so no changes need to be made, but the user can still change anything set.
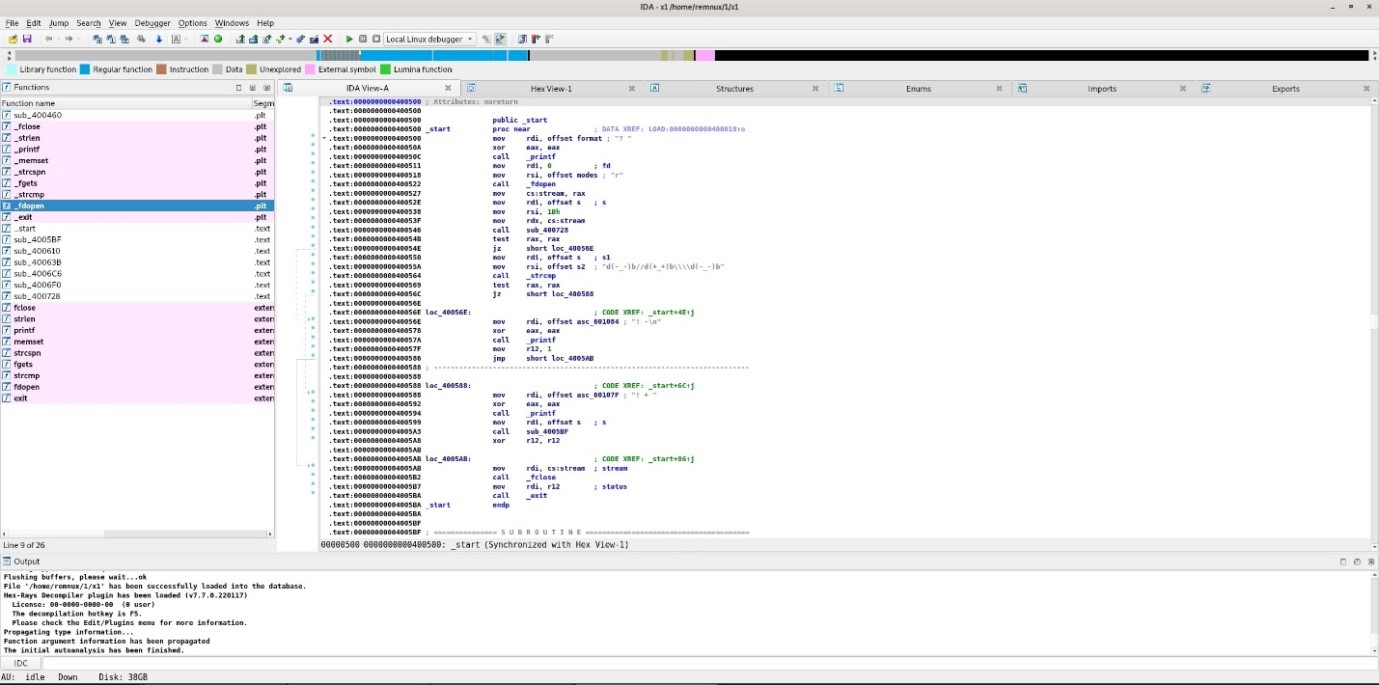
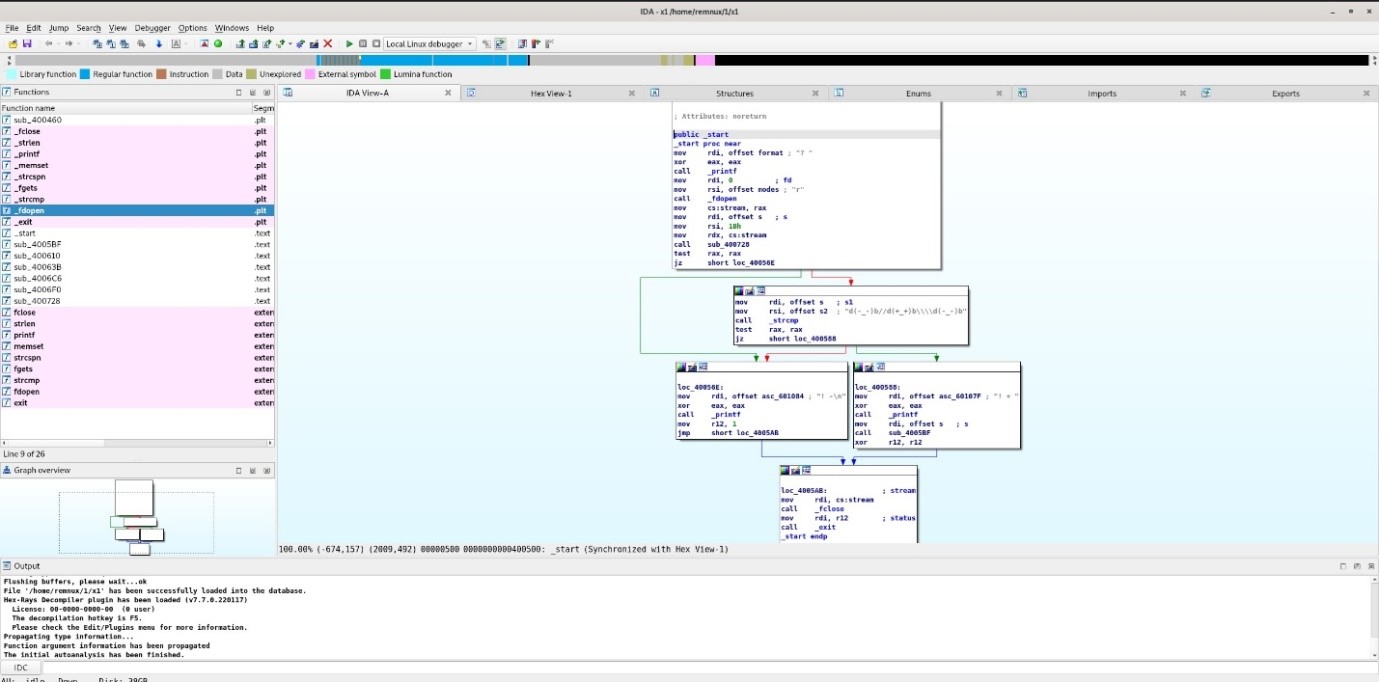
IDA in linear view:
The user can switch between graphical and linear views by clicking the space bar. The code looks better in IDA than in the hex editor in either one. The user can go deeper into the file, view it piece by piece, make modifications if needed, or see how the file runs.
IDA graphical view:
The graphical interface of IDA makes it much more organized and user-friendly compared to using a basic hex editor in the terminal. With IDA, you can visually navigate through the program, making it easier to understand and read the code. It provides a cleaner and more intuitive display, allowing you to analyze the program structure and relationships between different parts more efficiently. In simple terms, IDA's graphical view presents the information in a way that is easier to comprehend, helping you in your analysis and investigation tasks.
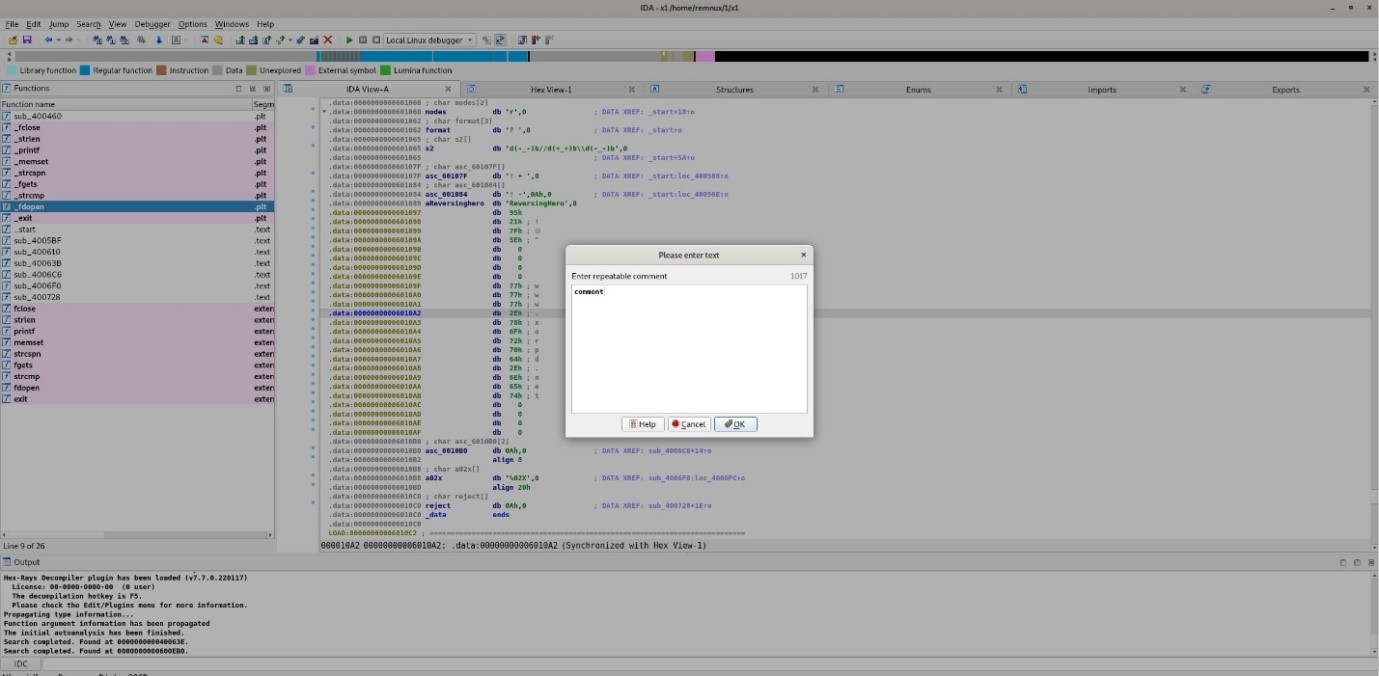
IDA comments:
One can comment in IDA by clicking; anywhere in white; the user can make comments for each part as needed. This helps the user in various ways. One way is it allows the user to make comments on inspected code or even uninspected code to remember if the user should worry about something, recheck something, or something else. Comments help programmers know what each line does when the user is working backward and no comments are there. The user needs to make new comments to keep track of the code to figure it out.
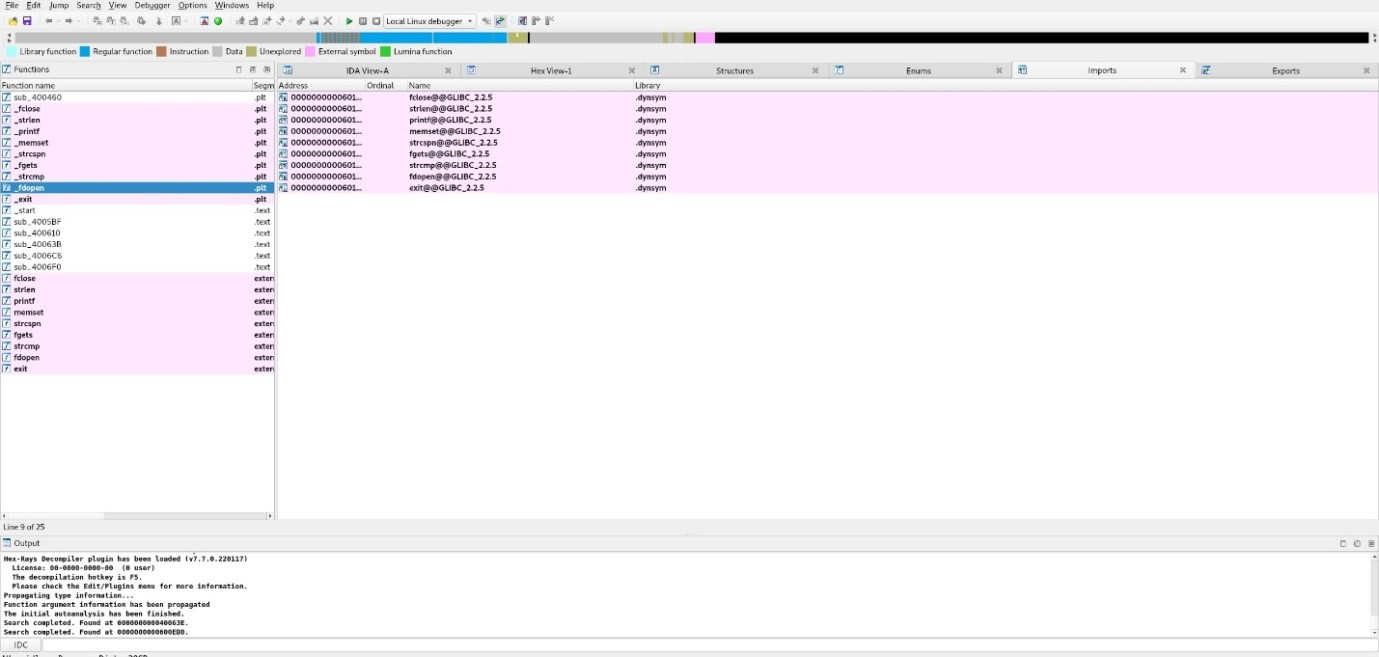
IDA’s imports tab:
You can see IDA’s imports tab beside the linear and graphical views. IDA also has multiple other charges such as hex view, structures, enum, imports, and exports. Each one has its uses. In particular, Imports lets the user see what is executable in the file and lists them. This is very useful, especially when inspecting malware. The user would want to know what is executable so they can investigate that first.
Conclusion:
To conclude with the findings, IDA is a potent tool for malware analysis since it can help view machine-executable code more easily. It could help a malware analyst break down malware quickly. The valuable functions discussed and many more not discussed are needed in today's malware analysis. The program also has its uses as a debugger which is good to learn for daily uses. Overall, IDA is an excellent program that many who are interested should try and should try to learn as well.
References
Attention required! (n.d.). Attention Required! | Cloudflare. https://www.udemy.com/course/reverse-engineering-ida/
Get the virtual appliance. (n.d.). REMnux: A Linux Toolkit for Malware Analysis - REMnux Documentation. https://docs.remnux.org/install-distro/get-virtual-appliance
IDA freeware. (n.d.). Hex-Rays – State-of-the-art binary code analysis solutions. https://hex-rays.com/ida-free/#download
Stay Tuned
The best articles, links, and news delivered once a week to your inbox.
